Drain Tile Installation

Drain Tile Installation
The Installation Process
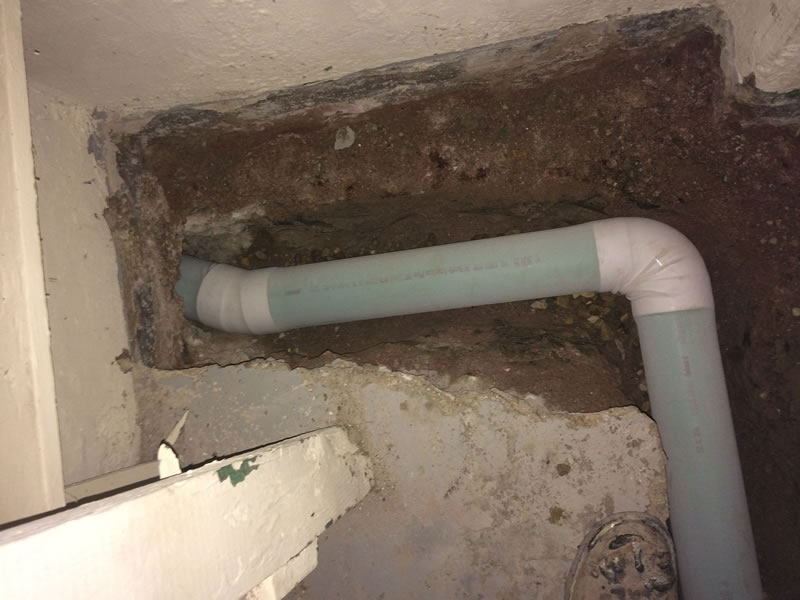
When you are looking for drain tile installations, call the experts at ULB-DRY Waterproofing. In the case of hydro-static pressure, excessive water buildup under the floor slab, ULB-DRY offers either interior or exterior drain tile installation depending on your specific needs. A trench is excavated next to the footer. In order to ensure flow, this trench is pitched to a sump pump basin. All of our tile installations start with a pre-inspection; one of the foremen will walk the job site with the homeowner to go over the logistics of the job.
All materials used and sump pump discharges will be in accordance with village codes.

Interior Drain Tile Installation
1. The floor is broken up and removed 12-18″from the wall around the perimeter of the basement.
2. A 8″ wide trench is excavated next to the footer, no less than 10″ below the floor slab.
3. In order to ensure flow, this trench is pitched to a sump pump basin. This trench will slope approx. 1/8″ per running foot until it reaches the sump basin.
4. If needed or not existing, a new basin can be installed. An opening approx. 24″around and 36″ deep is created in the floor.
5. A small bed of gravel will be placed in the bottom of the hole. A 30″ deep poly basin is placed into the hole and surrounded with stone.
6. A small base of 3/4″ stone is placed in the bottom of the trench.
7. A 4″ perforated SDR35 drain tile complete with a filter sock is laid in the trench.
8. The tile is covered to within 3″ of the floor slab with an additional layer of 3/4″ stone.
9. A dimpled drainage mat is placed over the gravel and up the foundation wall approximately 4″ (optional, as some cities do not allow it due to radon requirements).
10. The cement is replaced and troweled smooth and flush with the wall.
Exterior Drain Tile Installations
1. J.U.L.I.E will be called to scope the area for any utility lines.
2. A series of plywood planking will be placed in the ground/soil.
3. A trench will be excavated by hand from top of grade down to and in front of the footer. From this point the trench next to the footer will be sloped towards the existing sump.
4. A small layer of 3/4″ stone will be placed in the base of the trench.
5. A 4″ perforated PVC tile with filter sock will be placed into the trench and connected to the basin.
6. 4″ clean-outs will be installed (if required by code).
7. Another layer of 3/4″ stone is placed over the tile up to the height of the top of footer.
8. A dimpled drainage mat with a filter fabric will be secured to the foundation wall from a point just above finish grade down to a point just above finish grade down to and across the stone.
9. An additional 12″ of stone will be added.
10. The remaining trench is backfilled and compacted using the existing soil, leaving a small mound to allow for excess settling.
11. All excess soil will be removed and disposed of properly.
For more information about interior drain tile installation or exterior drain tile installation, contact ULBDry Waterproofing. Call 708-978-7558 to schedule your service today!


